The experts chime in on how to DIY it.
The dip manicure has been a mainstay since it burst onto the nail scene a few years ago (they first debuted in the 1980s, but it didn’t catch on for a while.) The longest-lasting option of all types of polish, the dip powder manicure involves layering pigmented acrylic polymer powder with a liquid hardener for a super shiny, durable result. Fans of dip manis love its chip-free effect, and some swear by its strengthening powers for growing long nails that are resistant to breakage.
Like gel manicures, there’s a right and wrong way to remove dip powder from the nails. Of course, a professional removal session, when done correctly, is the way to go. But if you have to take matters into your own hands, it’s possible, although time-consuming, to remove dip polish at home. Whichever route you go, proper removal is imperative to prevent nail damage.
Meet the expert
- Rita Pinto is the founder of New York City nail salon Vanity Projects. Elle Gerstein is a celebrity manicurist. Mazz Hanna is the CEO of Nailing Hollywood Agency.
Benefits of Dip Powder
The durability of dip powder is due to its formula, which consists of multiple resins and fine acrylic powder pigment layers that create a thick, shell-like coating on the nails. Nail salon founder Rita Pinto says a dip powder manicure involves applying a bond and dip base to the nails before dipping each finger into powder, then brushing off the excess and setting it with a topcoat. “Dip powder is completely odorless and doesn’t rely on UV light or fans to cure or dry the manicure,” she says. “Instead, dip manicures are lightweight, durable, and fortify the nails with vitamins and calcium.”
Fans of dip manicures love the longevity factor, which can make removing the manicure a little inconvenient and time-consuming. According to manicurist Elle Gerstein, nail damage can occur with improper removal, so every step must be followed and performed thoroughly. “Some nail salon technicians do not take the time to remove the dip correctly,” she says. “Home removal is also challenging because of angles and using the non-dominant hand to remove properly.”

How to remove dip the right way.
No matter who is removing the dip, there are a few necessary tools to have on hand, including nail clippers, a nail buffer and file with grit, pure acetone (organic nail polish remover won't work), cotton balls, an orange stick, a towel, cuticle oil, and a big bowl.
First, buff off as much dip powder as possible using a coarse nail file. Celebrity manicurist Mazz Hanna says that while this step can be tedious, but worth it. "Filing away the utmost amount of product allows for less soaking and scraping time," she says.
After buffing the nails, soak them in an acetone bath (one to two inches of nail polish remover should fill up a bowl) for 10 to 20 minutes, repeating as necessary. Submerge only the nail plate in the acetone, not the entire finger—since the skin can become dry from the acetone.
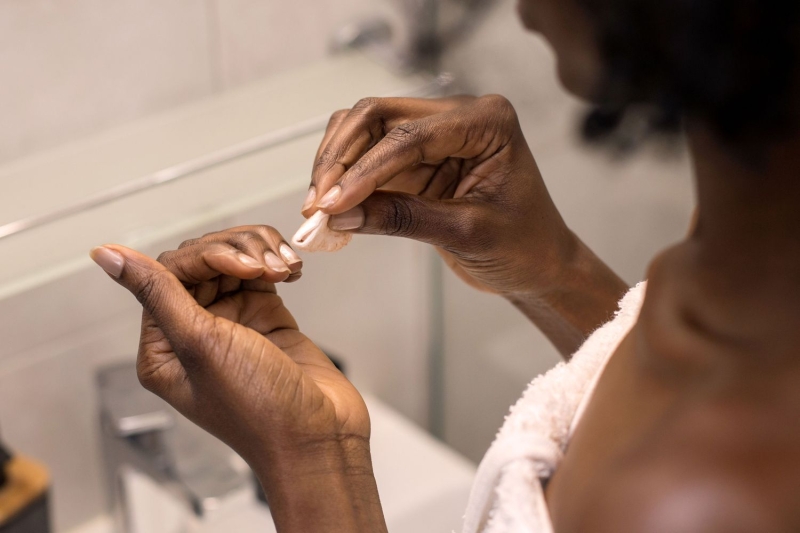
The soaking portion is complete when the polish starts to lift and melt away. Then, use an orange stick to scrape off the remainder of the dip. Forcing the polish off the nails with aggressive filing or drills can wear them down and damage the nail plate. Instead, Gerstein recommends keeping scraping to a minimum to preserve nail health.
Aftercare
Hydrating the nails with a good nail cream to prevent peeling and breakage. A gentle buffing will also help to even out the nails and eliminate any rough or jagged edges, giving a smoother finish. While most manicurists will remove the dip and reapply a fresh application, some prefer to keep the nails bare (especially if they are damaged or weak) so they can breathe for a few days before reapplying dip powder.
